| George Knives |
| Building a Sub-hilt fighter |
| © Copyright 2007 George Knives |
| Page 2 |
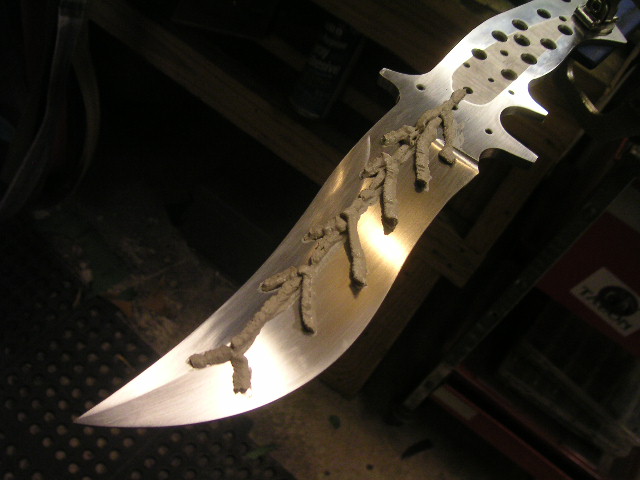
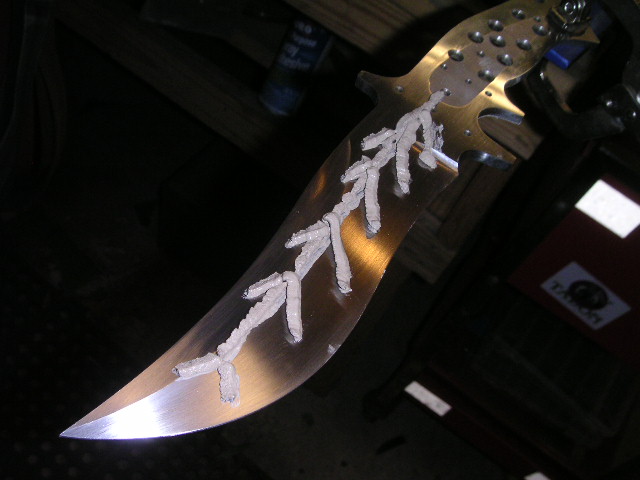
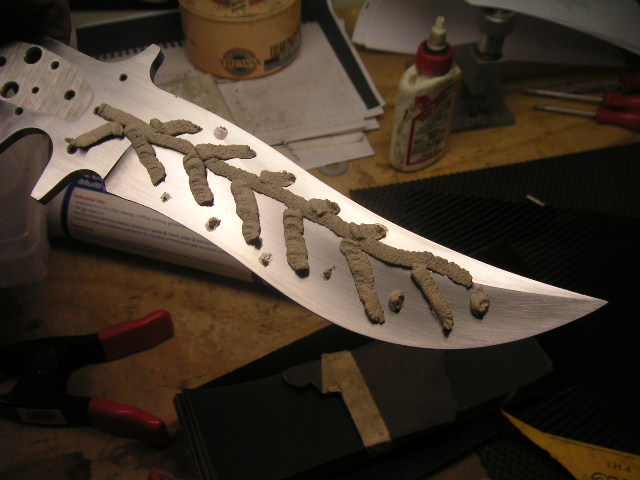
| All Clayed up, ready to heat treat |
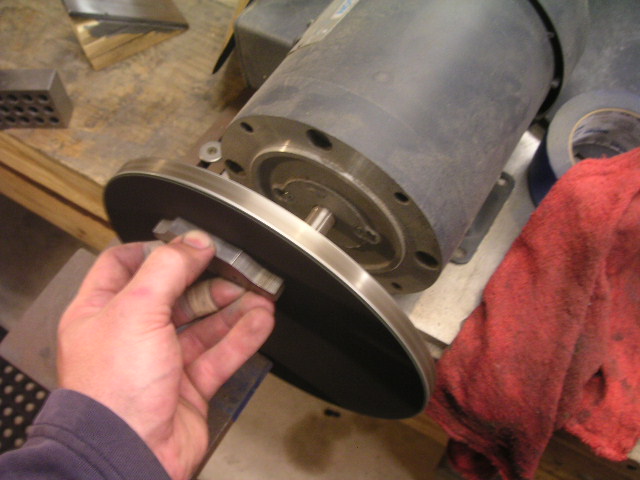
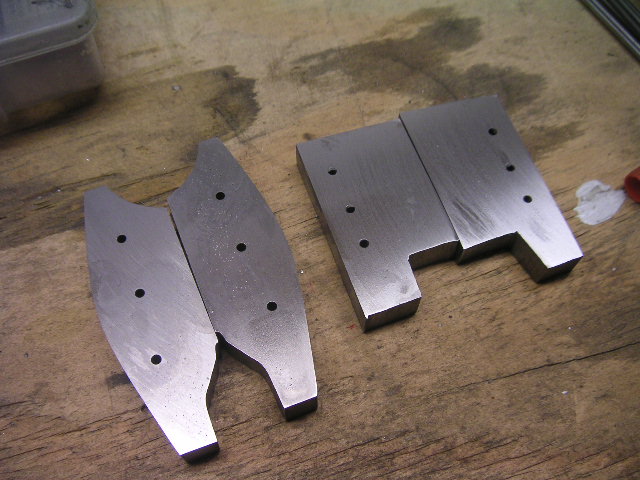
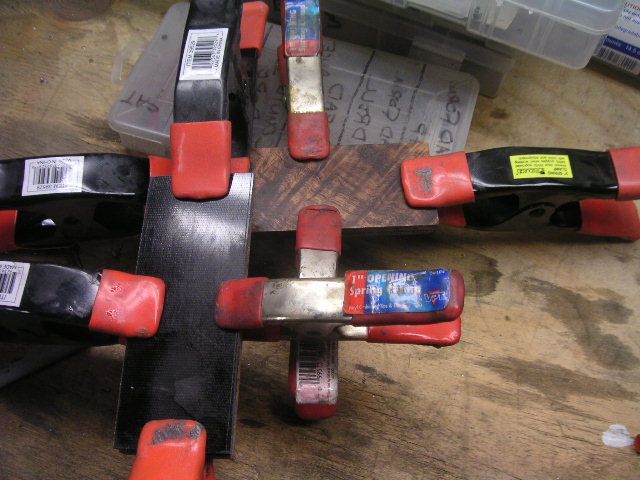
| While the clay drys out a little, I do some prep work on the scales and bolsters. I glue the wood to the Micarta spacer so I only have one piece to deal with later on |
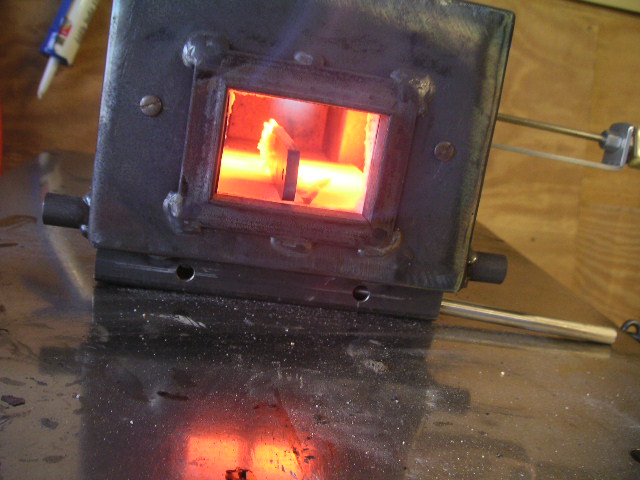
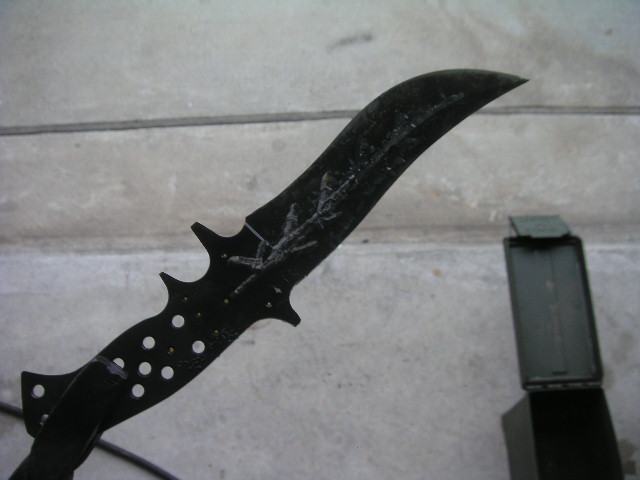
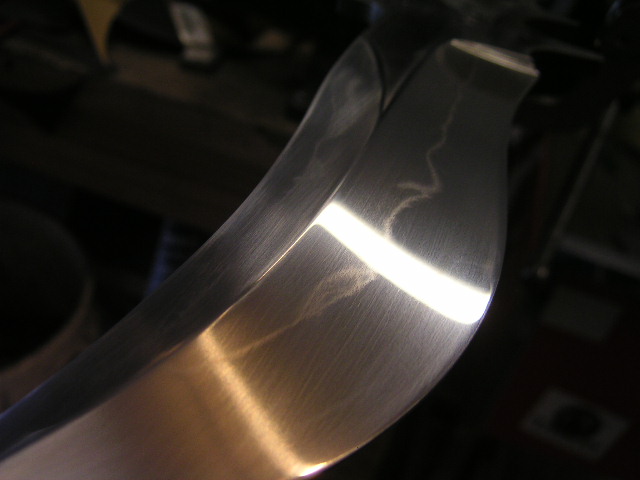
| Getting the fire going, then running some normalization in the middle. The photo on the right is right out of the quench tank. This is my first successful Hamon! Now to clean it up and see how it turned out. |
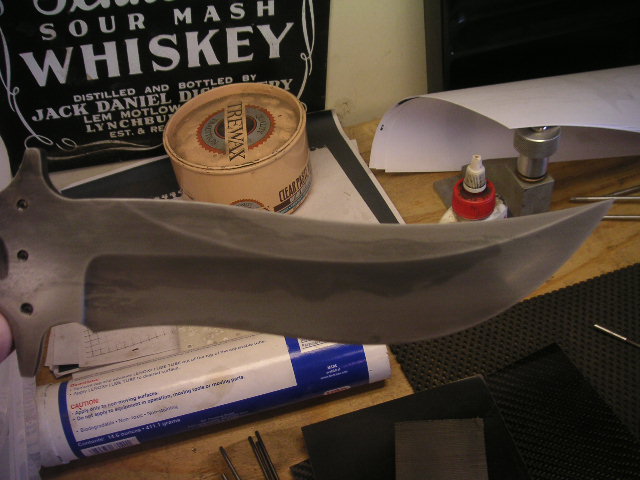
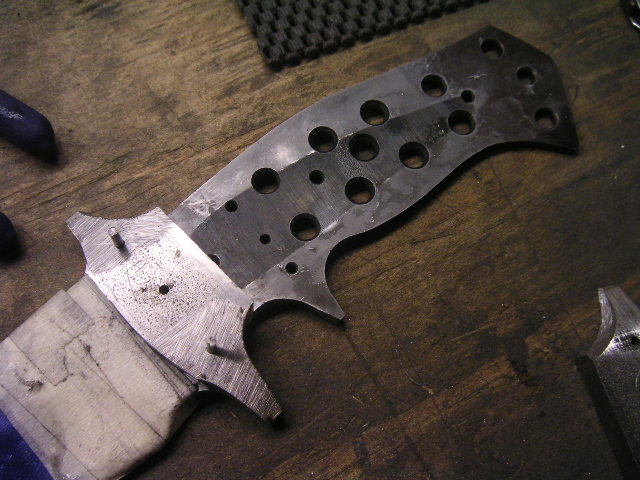
| I got the grind cleaned up then brought the flats up to 100 grit on the disk sander. Looking good! |
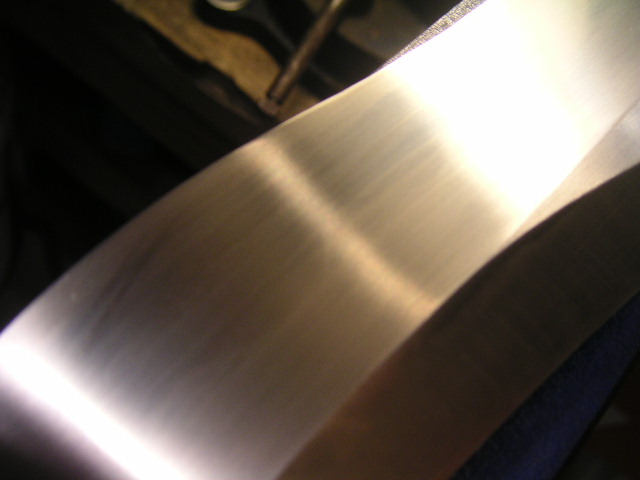
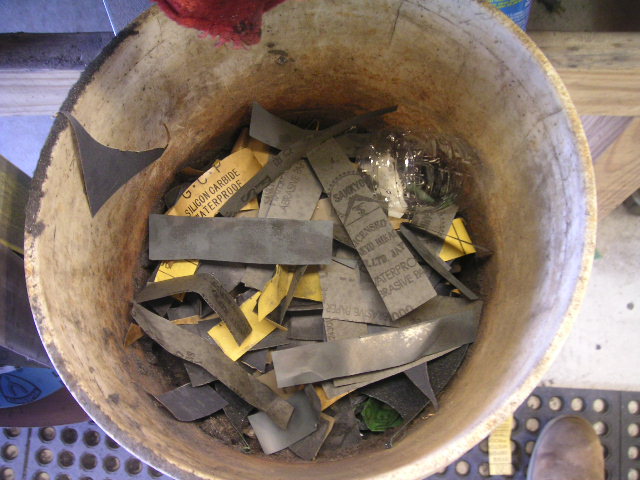
| Starting the hand sanding with the bigger main bevel. |
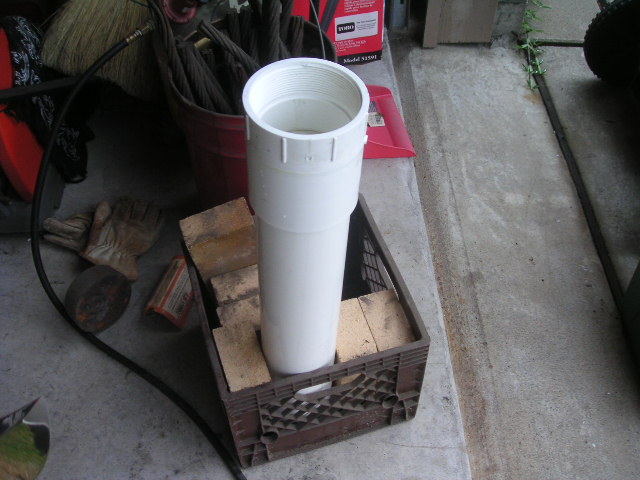
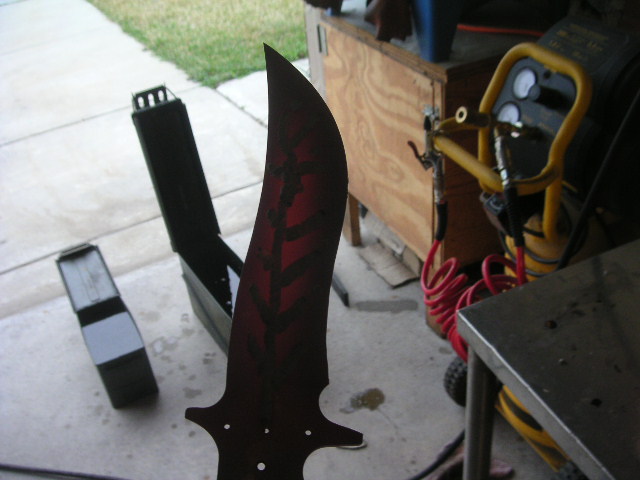
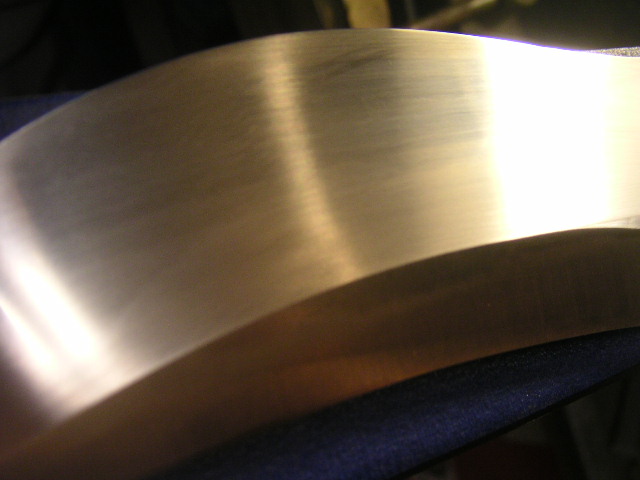
| Getting the hand sanding lined out, then into the pipe full of ferric chloride to bring out the hamon |
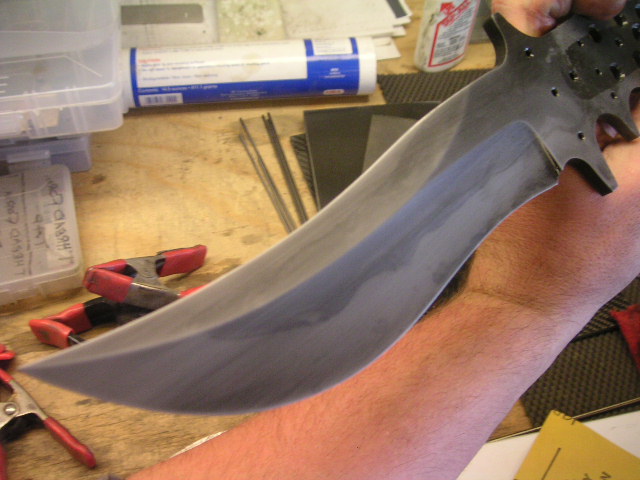
| Dark out of the etch, then back to the hand sanding... |
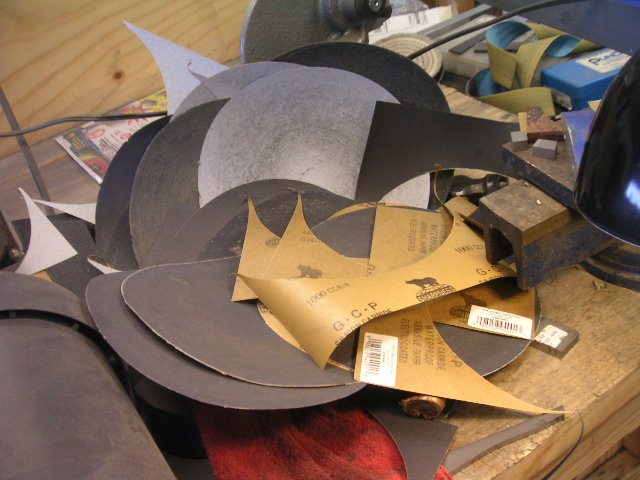
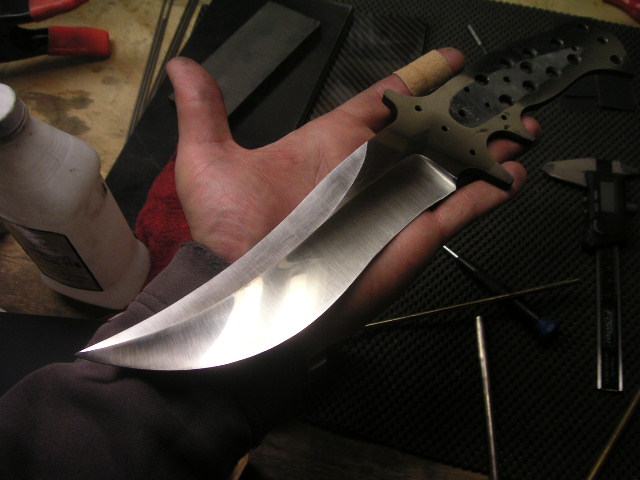
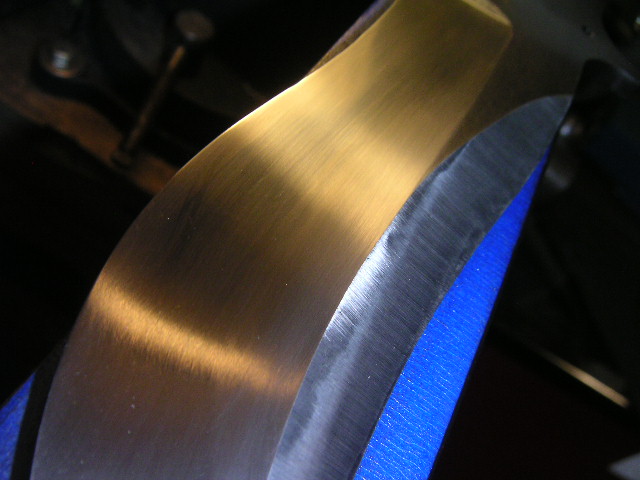
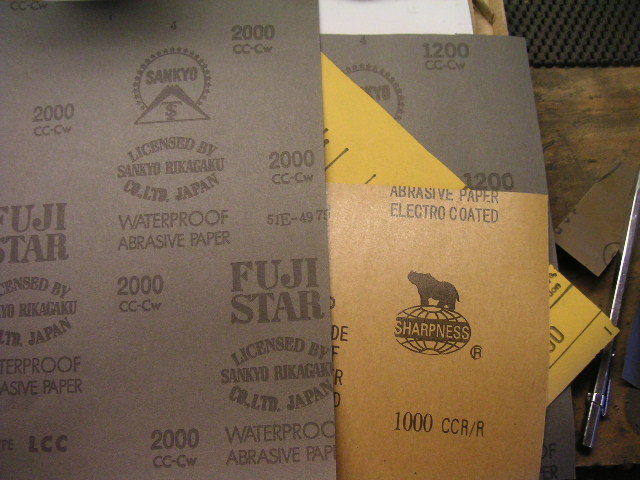
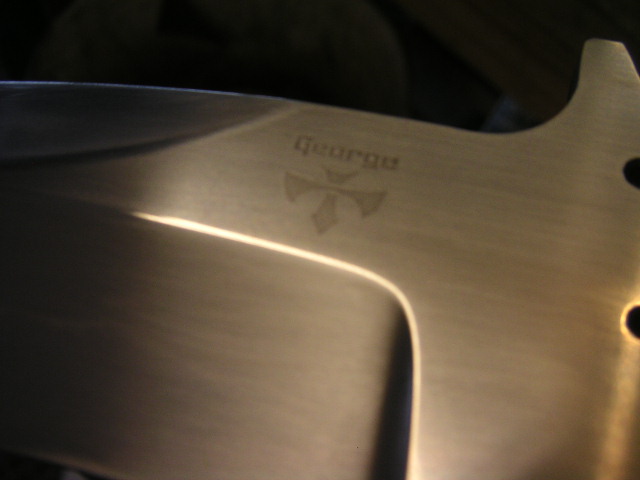
| It takes a little sand paper to get here but the finish is done and it's time to mark the blade. |
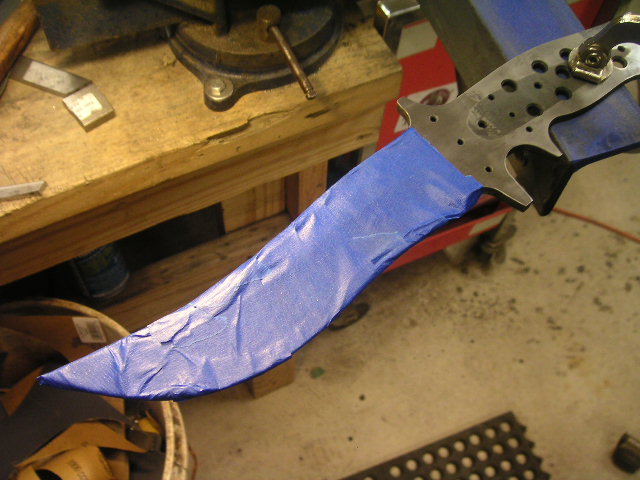
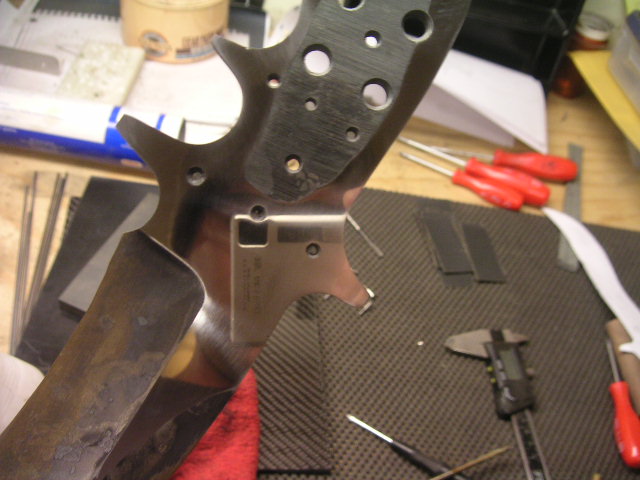
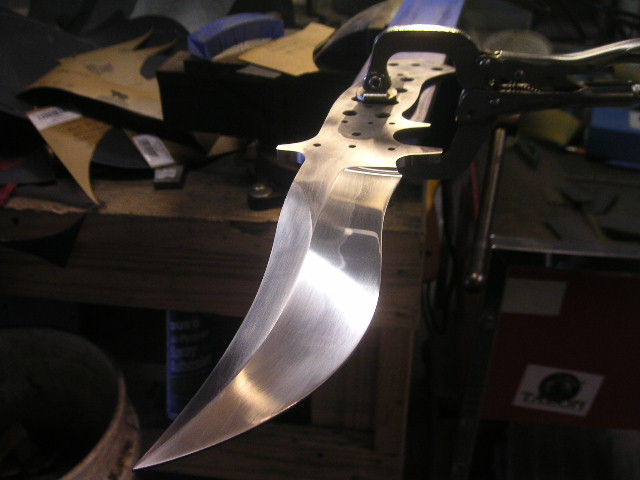
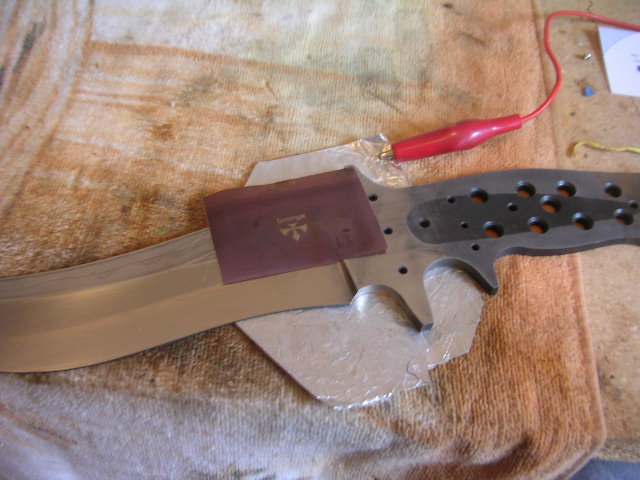
| Protect the blade with some very technical blue tape and get to setting the bolsters. |